Description
The purpose of the project is to detect the passing of cars and people at the entrance to an orchard and a warning beep inside this house.
For this project it consists of 2 modules:
- Module detection step, either of people or cars.
- Module warning step.
The requirements are:
- The step detection module, being in the garden, must have a separate power supply, in this case we have put a solar panel and a battery.
- The module must sound warning when the detection module warn you.
- The detection module is at the entrance of the garden.
- The warning module is inside the house.
 |
| Detection module with solar panel |
Instructions
Components used
The components used have been:
- Detection module
- Warning module
Assembly of the circuit
The Fritzing scheme is as follows:
 |
| Detection module |
In this scheme has not been added to the connection part of the Lipo Rider Pro, battery and solar panel, I not to have the designs for Fritzing.
 |
| Warning module |
Images of the system mounted inside the laboratory:
 |
| Solar panel with Lipo Rider Pro and battery |
 |
| Detection module mounted on a breadboard with initial ultrasound detector |
 |
| Detection module mounted on a breadboard with final ultrasound detector |
 |
| Top of the PCB detection module without connected components |
 |
| Top of the PCB detection module with connected components |
 |
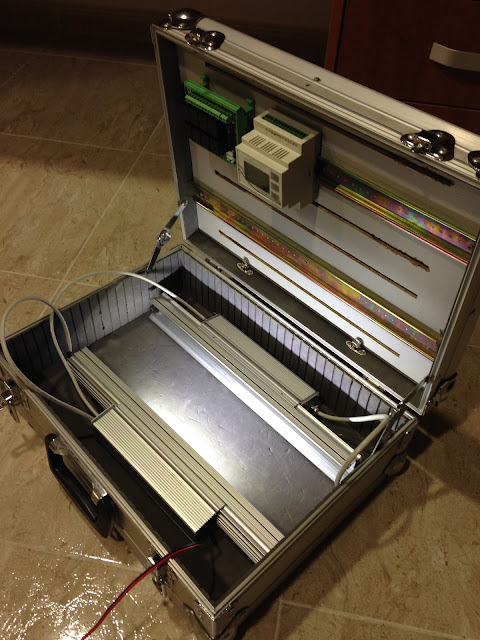
| Detection module inside his waterproof case |
- Warning module
 |
| Warning module mounted on a breadboard |
 |
| Top of the PCB warning module without connected components |
 |
| Top of the PCB warning module with connected components |
 |
| Warning module inside his waterproof case |
Software
The libraries used have been:
The code of the Arduino is the following:
#include <Ultrasonic.h>
const int TRIG_PIN = 12;
const int ECHO_PIN = 13;
Ultrasonic ultrasonic(TRIG_PIN, ECHO_PIN);
void setup()
{
Serial.begin(9600);
}
void loop()
{
float cmMsec;
long microsec = ultrasonic.timing();
cmMsec = ultrasonic.convert(microsec, Ultrasonic::CM);
Serial.print(int(cmMsec));
Serial.println("=");
delay(1000);
}
int C = 131;
int D = 147;
int E = 165;
int F = 175;
int G = 196;
int songNotes[] = {E, E, E, E, E, E, E, G, C, D, E, F, F, F, F, F, E, E, E, G, G, F, D, C};
int noteDurations[] = {4, 4, 2, 4, 4, 2, 4, 4, 4, 4, 1, 4, 4, 4, 4, 4, 4, 4, 4, 4, 4, 4, 4, 1};
byte byteRead;
long longitud;
long longitudMaxima = 100;
String inString = "";
unsigned int pitch;
void setup()
{
Serial.begin(9600);
longitud = 0;
}
void loop()
{
while (Serial.available() > 0)
{
byteRead = Serial.read();
if (byteRead > 47 && byteRead < 58) {
longitud = (longitud * 10) + (byteRead - 48);
}
if (byteRead == 61)
{
Serial.println(longitud);
if (longitud <= longitudMaxima)
{
melodia();
}
longitud = 0;
}
}
}
void melodia()
{
for (int i = 0; i < 24; i ++)
{
int noteDuration = 1000 / noteDurations[i];
tone(8, songNotes[i], noteDuration);
int pauseBetweenNotes = noteDuration * 1.3;
delay(pauseBetweenNotes);
noTone(8);
}
}


Comentarios
Publicar un comentario